Welcome page shows the version of the Carillon client that will be installed.
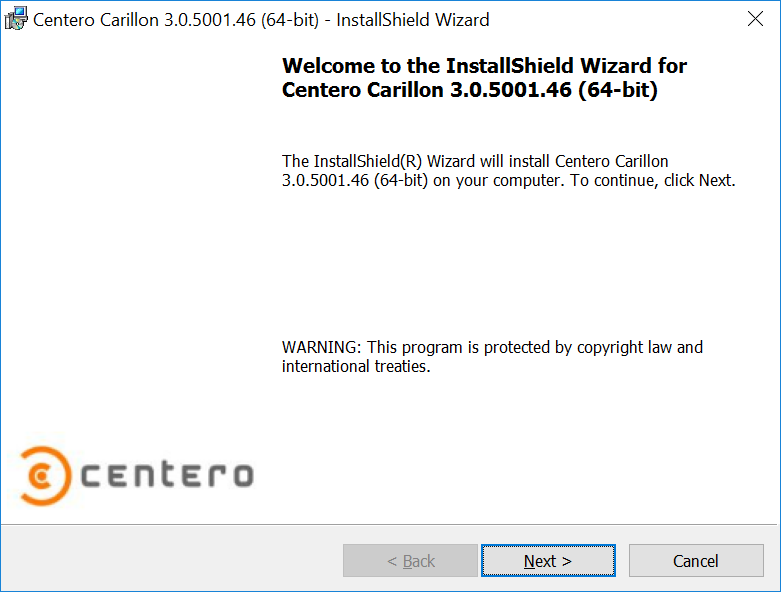
- Next
Click to go to next page on installation wizard. - Cancel
Click to cancel installation.
License agreement page is used to show license agreement for Carillon Client. License agreement must be accepted to continue installation.
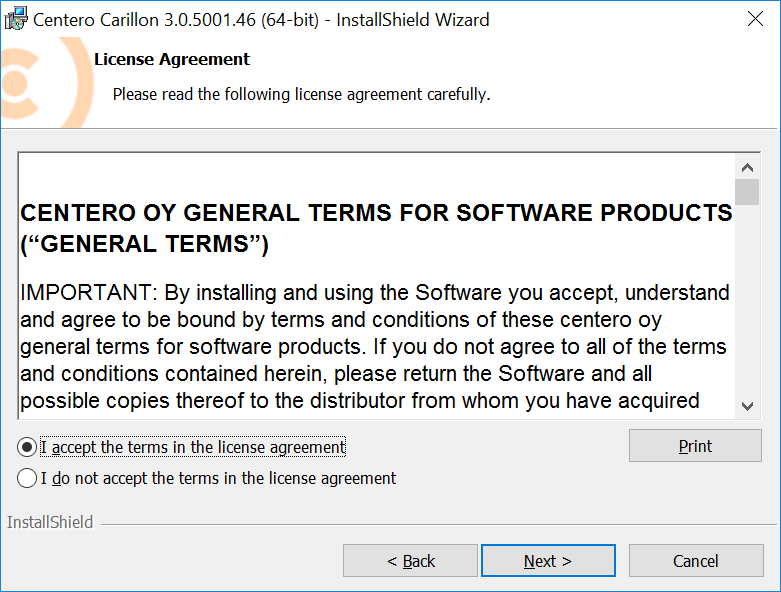
- License agreement
Read the license agreement and then select I accept the terms in the license agreement to continue. - Back
Click to go to previous page on installation wizard. - Next
Click to go to next page on installation wizard - Cancel
Click to cancel installation.
Carillon Client custom setup page is used to select features that will be installed as well as the destination where Carillon Client module is installed.
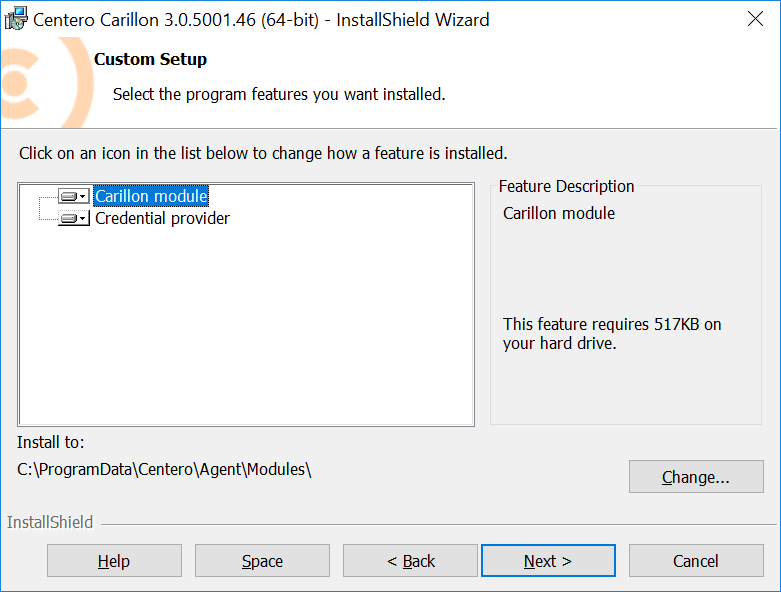
- Features
Select features to be installed. Carillon module feature is required for Centero Carillon to work. Credential providercan be installed on Windows Vista and later operating systems (requires Microsoft Visual C++ Redistributables to be installed on computer). - Destination folder
Click to change destination folder for Carillon module. Do not change folder if alternative Carillon Client module location has not been specified to computers using Active Directory Group Policy. - Help
Click to show help on selecting feature install states. - Space
Click to show available space on local disks. - Back
Click to go to previous page on installation wizard. - Next
Click to go to next page on installation wizard. - Cancel
Click to cancel installation