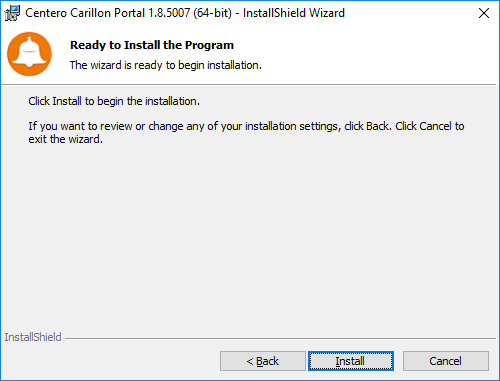
Welcome page shows the version of the Carillon Portal that will be installed
- Click Next to continue
Database server page is used to specify where Centero Carillon database will be created or used if already exists. If database does not exist on specified Microsoft SQL Server instance then user account running the installation program must have permissions to create new database on specified Microsoft SQL Server instance. If database already exists on specified Microsoft SQL Server instance then db_owner permissions required on existing database for user account running the installation program.
If database must be created by SQL administrator then these instructions can be used to create the database.
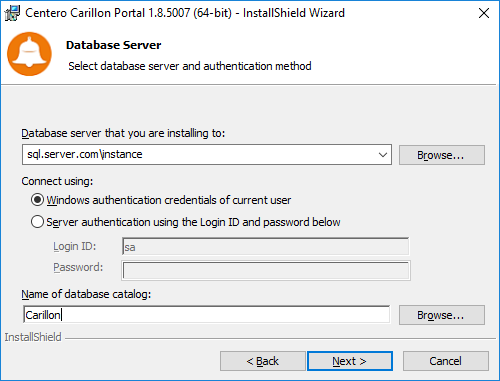
- Database server
Specify or browse the Microsoft SQL Server instance where database should be placed. If using default instance on Microsoft SQL Server then only server name should be used. If using named instance on Microsoft SQL Server then instance name need to be specified also. Alternative for specifying named instance is to specify server name and TCP/IP port where Microsoft SQL Server instance is listening separated by comma (for example sql.server.coml, 4252) - Authentication
Select Microsoft SQL Server authentication for Centero Carillon Portal application. By default Centero Carillon Portal application is running with Network Service credentials. Therefore when using Windows authentication for Microsoft SQL Server the Active Directory computer object where Centero Carillon Portal is being installed is used for authentication. Microsoft SQL Server authentication can be also selected and then SQL login ID and password need to be specified. - Database name
Specify or browse the database name that will be used for Centero Carillon - Click Next to continue
Centero Carillon Portal Website Settings page is used to specify what IIS website is created or used for Centero Carillon Portal. Because Agent Gateway will be on the same server you need to specify IP address, port or host header that are unique on the server. If you want to use HTTPS, configure HTTPS binding and settings manually from IIS manager after installation. If existing Centero Carillon Portal is being updated then use the same website settings that previous version is using. You can find out the existing website settings from Centero Carillon Portal website is IIS management console.
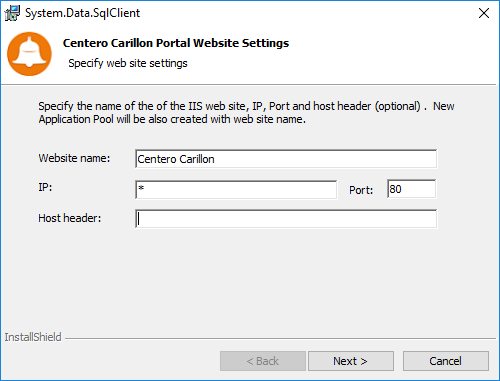
- Website name
Specify website name for the Centero Carillon Portal application. Website will be created if does not exist on IIS - IP address
Specify IP address that will be used by the website. If all server IP addresses should be bind to Centero Carillon Portal website then specify * -character to IP address field - Port
Specify port that will be used by the website - Host header
Specify host header name that will be used by the website. Host header is optional value that can be used to run several websites on same server using same IP address and port as long as host header names are unique - Click Next to continue
Note!
If you use host header and want to access the Carilllon Portal locally then follow these instructions to disable loopback check.
Destination folder page is used to specify where Centero Carillon Portal website content will be placed.
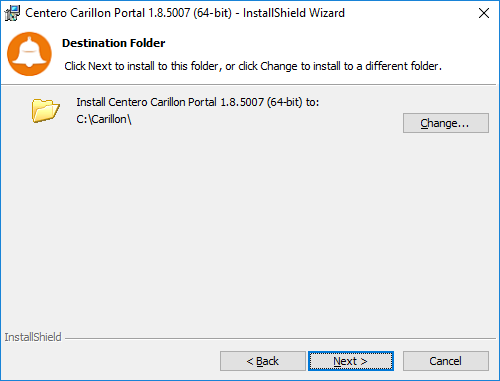
- Change destination folder
Click to specify different destination folder for Centero Carillon Portal website content - Click Next to continue