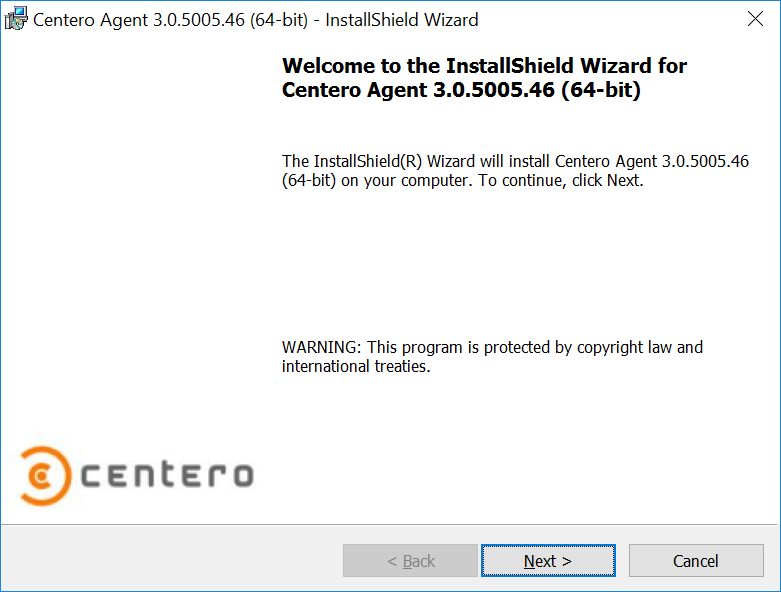
Welcome page shows the version of the Centero Agent that will be installed.
- Next
Click to go to next page on installation wizard. - Cancel
Click to cancel installation.
License agreement page is used to show license agreement for Centero Agent. License agreement must be accepted to continue installation.
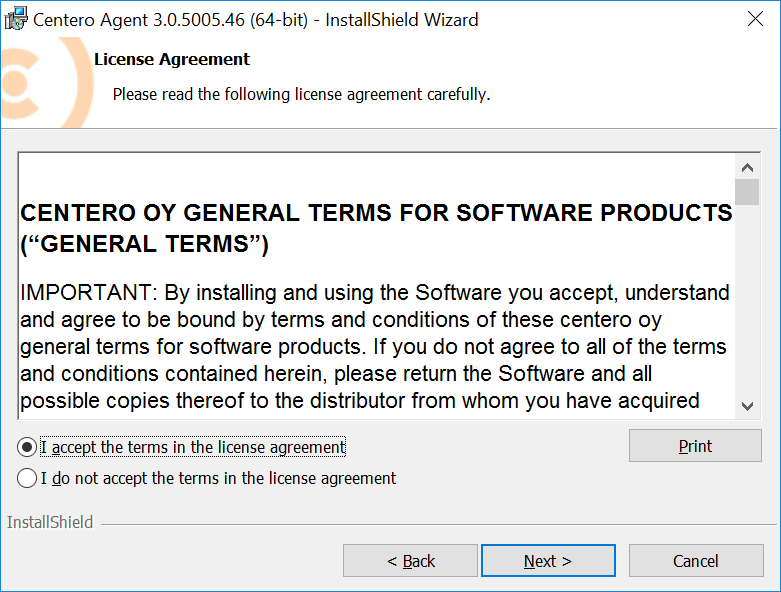
- License agreement
Read the license agreement and then select I accept the terms in the license agreement to continue. - Back
Click to go to previous page on installation wizard. - Next
Click to go to next page on installation wizard. - Cancel
Click to cancel installation.
Centero Agent Settings page is used to specify the computer domain and Agent Gateway URL address.
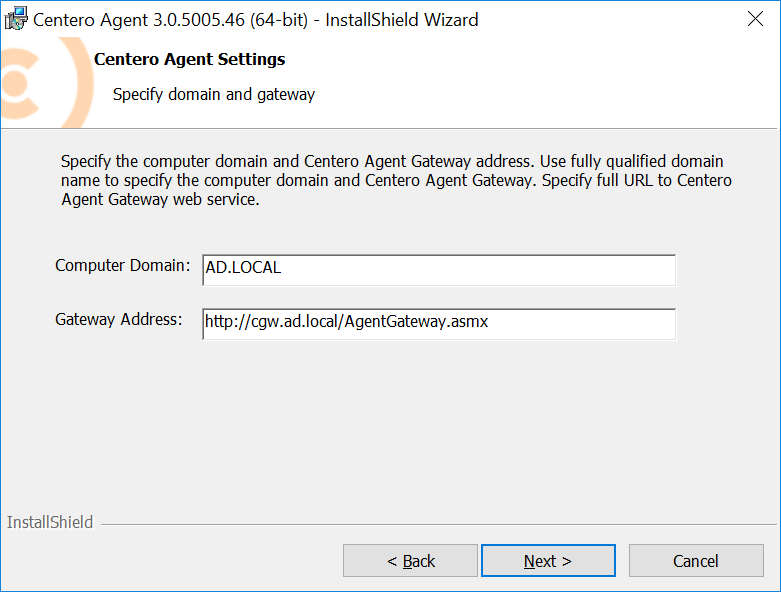
- Computer Domain
Specify the on-premises Active Directory domain DNS name of the computer where Centero Agent is being installed. Use computer NETBIOS name as computer domain when computer is not joined to on-premises Active Directory domain. For Azure AD joined devices you should us AzureAD as domain name. - Gateway Address:
Specify the Agent Gateway URL address. Specify full URL to AgentGateway.asmx file. - Back.
Click to go to previous page on installation wizard - Next
Click to go to next page on installation wizard. - Cancel
Click to cancel installation.